Make Your Own Peanut Butter: Easy Steps & Customization Tips
For many, peanut butter is a staple—a comforting spread that brings joy to breakfast toast, lunch sandwiches, and countless snacks. But have you ever considered the magic of creating your own? The idea of transforming a simple nut into a smooth, creamy, or crunchy delight right in your kitchen might seem daunting, yet it's surprisingly easy, incredibly rewarding, and opens up a world of flavor possibilities.
Forget the store-bought versions for a moment. Imagine a peanut butter that’s perfectly salted, subtly sweet, or even infused with unique spices, all made with just a handful of ingredients you control. This isn't just about saving money (though it can be!); it’s about experiencing peanut butter in its purest, most vibrant form. You'll soon discover Why Homemade Peanut Butter is Better: Easy, Cheap & Delicious, tasting the difference in every spoonful.
The core secret to understanding how to make peanut butter at home lies in recognizing that peanuts themselves are packed with natural oils. When processed correctly, these oils are released, emulsifying to create that familiar spreadable texture. No mysterious additives, no unwanted sugars—just pure, unadulterated peanut goodness. Ready to embark on this deliciously simple culinary adventure? Let’s get started.
Gathering Your Tools and Ingredients for Perfect Peanut Butter
Before you begin, ensure you have the right equipment and the star ingredient. While the process itself is simple, having the correct tools will make all the difference in achieving that smooth, consistent texture you crave.
Essential Equipment: The Power Behind the Butter
- High-Speed Food Processor or Powerful Blender: This is non-negotiable. A robust machine is crucial because peanuts need significant processing to release their oils and achieve a creamy consistency. A standard, low-wattage blender or a small, single-serve food processor will struggle and could even overheat or burn out. Think Vitamix or a full-size food processor with a strong motor. This appliance does the heavy lifting, so invest in a good one if you plan on making nut butters regularly.
- Rubber Spatula: Indispensable for scraping down the sides of your processor bowl, ensuring all the peanuts are evenly processed.
- Dry Skillet or Baking Sheet: For toasting your peanuts.
- Airtight Container: To store your delicious homemade creation.
Key Ingredients: Simplicity at Its Best
- Peanuts: The undeniable star!
- Type: Opt for raw or dry-roasted, unsalted peanuts. Dry-roasted peanuts have already been processed, which can sometimes speed up the blending process slightly. Raw peanuts require you to roast them yourself, which allows for more control over the flavor development.
- Variety: While most peanuts work, Virginia peanuts are large and flavorful, Spanish peanuts are smaller and oilier (great for creamy butter), and Runner peanuts are common and versatile. Don't worry too much about the specific variety for your first batch.
- Quantity: A good starting point is 2 cups of peanuts, which typically yields about 1 cup of finished peanut butter. This amount is ideal for most food processors without overwhelming them. You can easily scale up or down once you get the hang of it.
- Salt (Optional, to taste): Even if you use salted peanuts (which isn't recommended for control), a pinch of extra salt can really enhance the flavor.
- Sweetener (Optional): Honey, maple syrup, agave nectar, or even a touch of cane sugar can add a lovely sweetness.
- Flavorings (Optional): Vanilla extract, cinnamon, cocoa powder, or a dash of chili powder for an adventurous twist.
The Step-by-Step Process: From Peanuts to Perfection
Once you have your ingredients and equipment ready, the actual making of peanut butter is a rhythmic dance between processing and observing. Patience is your secret ingredient here!
Step 1: Toast Your Peanuts for Deep Flavor
This crucial step elevates your peanut butter from good to exceptional. Toasting brings out the peanuts' natural oils and deepens their nutty flavor, making your homemade butter richer and more aromatic.
- Skillet Method: Heat a large, dry skillet over medium heat. Spread the peanuts in a single layer and toast for 5-8 minutes, stirring frequently, until they are fragrant and lightly golden brown. Be careful not to burn them!
- Oven Method: Preheat your oven to 350°F (175°C). Spread the peanuts in a single layer on a baking sheet. Roast for 10-15 minutes, stirring halfway through, until aromatic and lightly browned.
Once toasted, let the peanuts cool completely. This is important as warm peanuts can lead to a less stable butter and may affect the processing time.
Step 2: The Blending Journey (Patience is Key!)
This is where the magic happens. Add your cooled, toasted peanuts to your high-speed food processor or powerful blender. Secure the lid and start blending. You'll notice distinct stages:
- Coarse Crumbs (1-2 minutes): The peanuts will first break down into coarse, dry crumbs.
- Fine Meal (2-4 minutes): The crumbs will become finer, resembling a rough meal.
- Sticky Ball/Paste (4-6 minutes): The oils will start to release, causing the mixture to clump together, often forming a sticky ball or a thick, chunky paste. At this stage, you might think it's not working, but trust the process!
- Smooth and Creamy (6-10 minutes): Keep blending! The ball will eventually break down, and the mixture will thin out dramatically as more oils are released. It will transition from a pasty consistency to a silky-smooth, pourable, creamy peanut butter.
Crucial Tip: Throughout the process, stop your machine every 1-2 minutes and use your rubber spatula to scrape down the sides of the bowl. This ensures all the peanuts are incorporated and helps your machine process evenly. Continue blending until you reach your desired smoothness. For a truly smooth butter, this could take up to 10 minutes or more, depending on your machine's power.
Remember, for a healthy, pure spread, you typically don't need to add any external oil. The peanuts themselves contain plenty. For more on this, check out our guide on Minute Homemade Peanut Butter: Just Peanuts, No Added Oil.
Step 3: Season to Taste
Once your peanut butter reaches its creamy glory, it's time to personalize it.
- Salt: Add a pinch of salt. Start with about ¼ teaspoon for 2 cups of peanuts, blend for a few seconds, taste, and adjust as needed.
- Sweeteners: If desired, add a tablespoon of honey, maple syrup, or your preferred sweetener. Blend well and taste.
- Other Flavorings: This is your chance to get creative!
Step 4: Achieving Your Desired Consistency (Creamy vs. Crunchy)
- Creamy: Continue blending until the peanut butter is as smooth and velvety as you like.
- Crunchy: If you prefer crunchy peanut butter, reserve about ¼ cup of your toasted peanuts *before* blending. Roughly chop them by hand or pulse them briefly in a separate mini-processor. Once your creamy peanut butter is made and seasoned, stir in the chopped peanuts.
Customization: Elevate Your Homemade Peanut Butter Game
This is where homemade truly shines over store-bought. The possibilities for customization are virtually endless. Think of your basic peanut butter as a blank canvas.
- Sweet Variations:
- Honey-Vanilla: Add a tablespoon of honey and ½ teaspoon of vanilla extract during the seasoning stage.
- Maple Cinnamon: A dash of maple syrup and a sprinkle of cinnamon create a warm, inviting flavor.
- Chocolate Peanut Butter: For a "Nutella-but-with-peanuts" vibe, add 1-2 tablespoons of cocoa powder and a tablespoon of your preferred sweetener to the processor once the butter is creamy.
- Spicy Kicks: A tiny pinch of cayenne pepper or chili flakes can add a surprising and delicious warmth, especially good in savory applications.
- Nutty Blends: Don't limit yourself to just peanuts!
- Almond Peanut Butter: Combine equal parts toasted peanuts and toasted almonds. The method remains exactly the same.
- Mixed Nut Butter: Experiment with cashews, walnuts, pistachios, or hazelnuts alongside peanuts. Just ensure all nuts are toasted for optimal flavor release.
- Exotic Flavors: A pinch of cardamom, a tiny swirl of orange zest, or even a sprinkle of toasted coconut flakes can transform your spread.
Always add flavorings gradually, blending and tasting as you go, until you hit your perfect balance.
Storage and Enjoyment
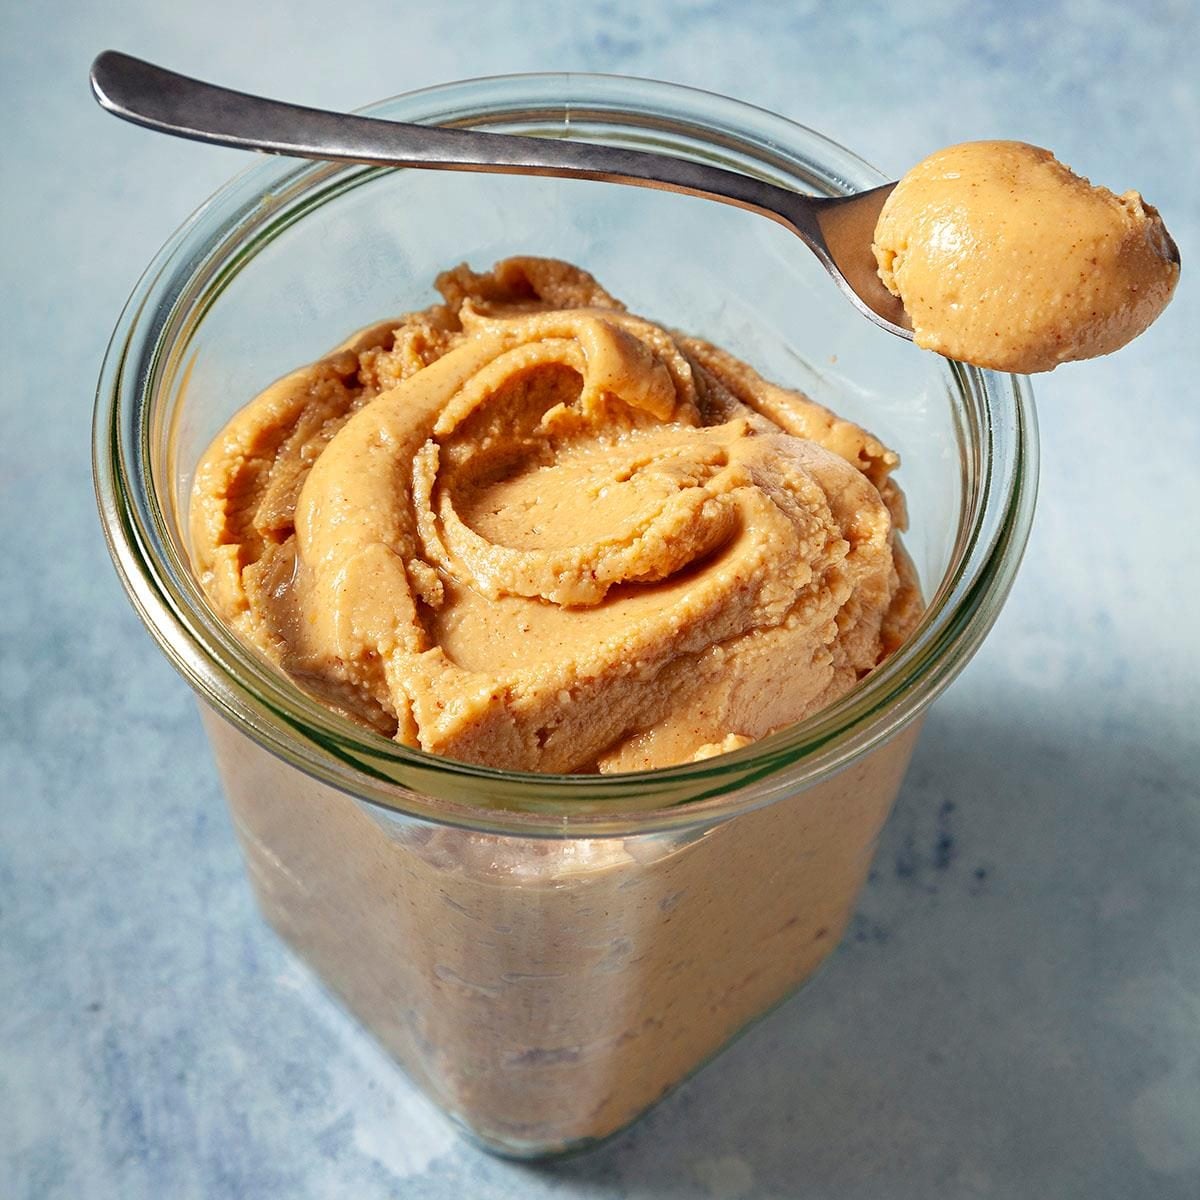
Once your delicious homemade peanut butter is ready, transfer it to a clean, airtight container, like a glass jar.
- Shelf Life: Homemade peanut butter, without added preservatives, typically lasts for about 2-3 weeks at room temperature in a cool, dark pantry.
- Refrigeration: For a longer shelf life (up to a month or more), store it in the refrigerator. Be aware that it will firm up considerably when chilled, so you might need to let it sit at room temperature for a bit before spreading.
- Oil Separation: Just like natural store-bought peanut butter, you might notice some oil separation over time. This is completely normal! Simply give it a good stir before each use to reincorporate the oils.
Now, the best part: enjoying your creation! Spread it on toast, drizzle it over oatmeal, blend it into smoothies, use it in baking, or simply eat it by the spoonful. The fresh, vibrant taste of homemade peanut butter is an experience in itself.
Making your own peanut butter is more than just a recipe; it's a revelation. It's an empowering demonstration of how simple, wholesome ingredients can be transformed into something truly extraordinary with just a little effort and the right tools. From understanding how to make peanut butter to perfecting its texture and infusing it with your favorite flavors, you'll gain a deeper appreciation for this beloved spread. So, grab your peanuts, fire up your food processor, and prepare to be amazed by the delicious wonders of homemade!
